Solar energy is a sustainable and increasingly affordable way to power your home. Drawing their power from the natural resources provided by the sun, more homes across the UK are benefiting from this green energy supply than ever before.
But in order to take advantage of this, it’s important you have a solar array which has been correctly installed. In this short guide we’re going to walk through the eight-step process of installing solar panels on a home, as well as providing an overview of how long you can expect it to take, and what you can do to help maintain your array.
A planning phase precedes all installations. The typology of your house and your annual energy spending are to be taken into account at this point. After all, you want the size of your system to be proportional to your consumption. At Otovo, there is no standard solar panel installation, as all of our experts’ recommendations are tailor-made for your home.
Get a free quote!
How solar panels are installed
Solar panels are typically installed on the roof, which means that the shape and orientation of the latter should be studied beforehand. Just as important will be the observation of the surroundings, to ensure that there won’t be any shadings to impact negatively on the performance levels of the system. In fact, that is one of the most valuable tips one can give you before proceeding with the work: to carefully inspect the environment around you and check if there is any element that may be (or become in the future) a problem for your panels. In case shading is expected to be an issue, then optimisers should be added in order to get the best out of the system.
Then, there’s quite an extensive process involved in ensuring everything is done efficiently and safely. Most installation projects will follow a similar beat, which usually consists of eight different stages.
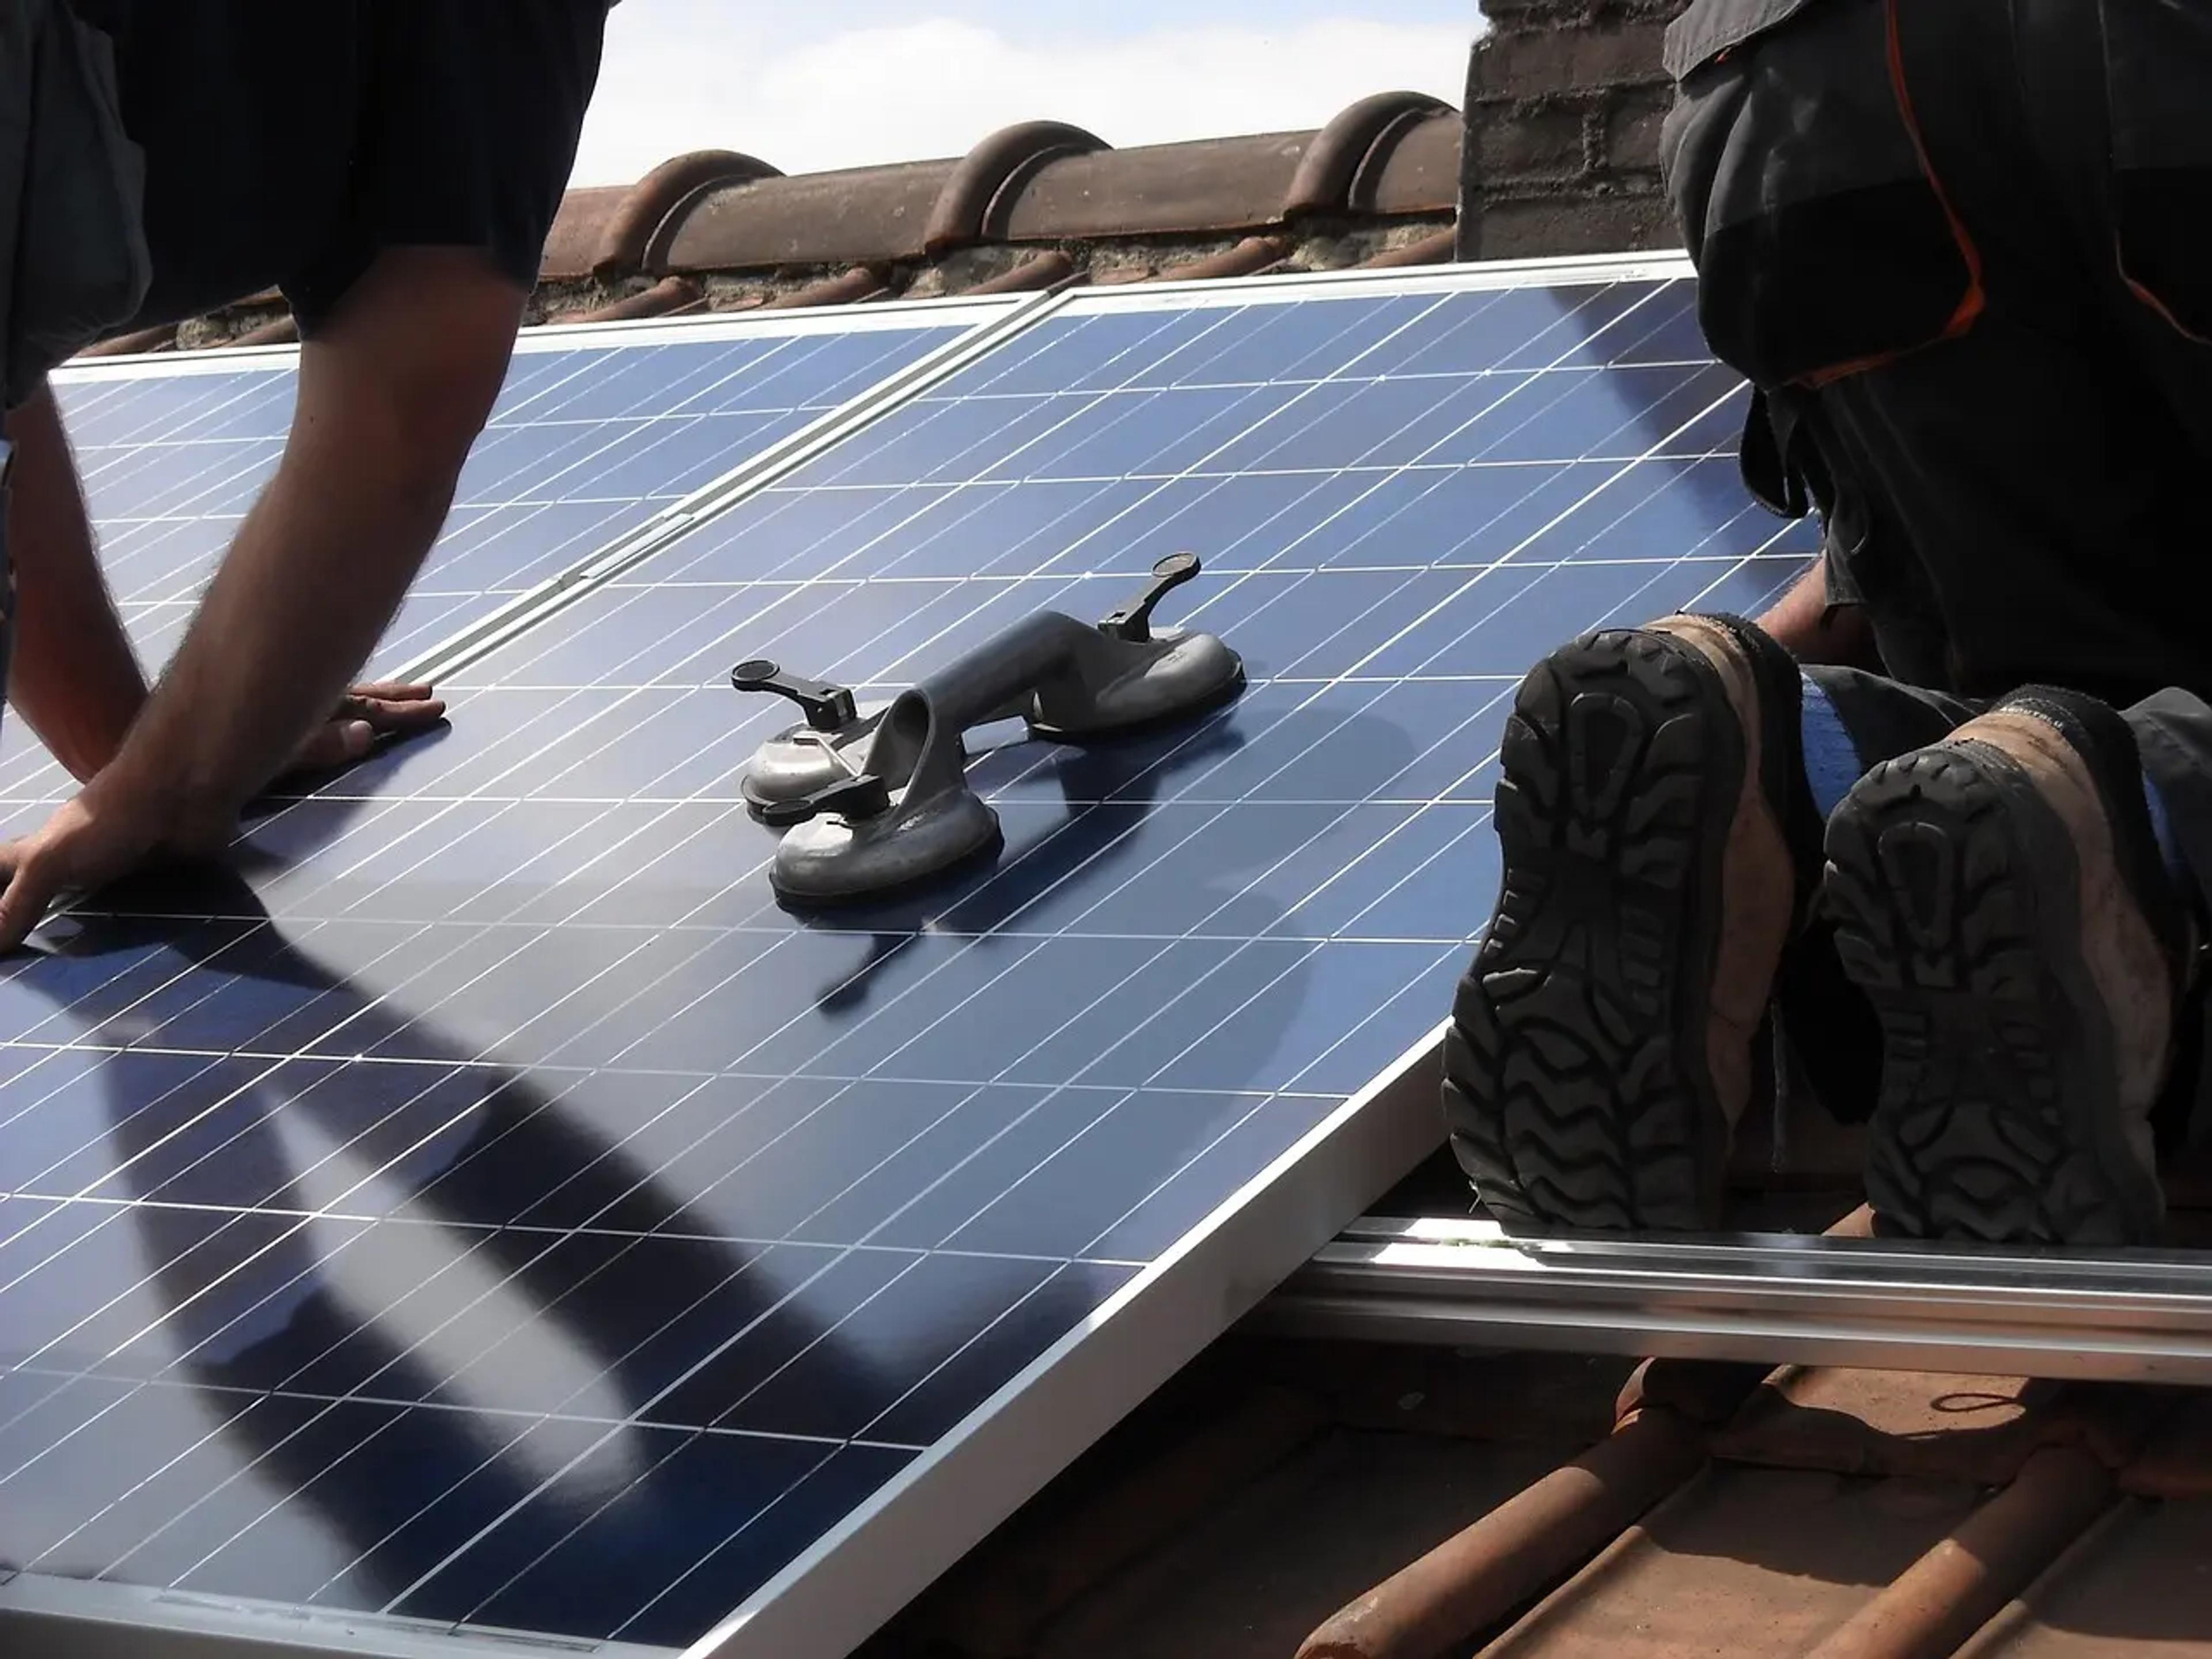
Step 1 – Scaffolding
If your installation is going to take place on the roof, scaffolding needs to be erected in order to safely access where the panels are going to be fitted. This usually takes the best part of a day, and accounts for roughly half of the time you can expect the project to last.
Step 2 – Mounts
The mount is what your solar panels are going to sit on. This is the first thing that’ll be attached to your roof or wall, and will serve as the support for the base of your array.
The mounting structure will need to be titled in order to maximise the amount of sunlight that your panels receive. This should be anywhere from 18 to 36 degrees, depending on the slant of your roof.
Step 3 – The solar panels
Next, and arguably most importantly, come the solar panels. Once your mounts are securely in place, these will be attached and tightly screwed on to ensure the panels remain stable at all times. At this point, your solar array will be looking the part – but not quite operational.
Step 4 – Wiring
Just like with batteries and inverters, solar panels can be wired either in series or in parallel. The most crucial difference between those two types of wiring configurations is related to their output voltages and currents. If you install solar panels in parallel, their output voltages will remain the same and their output current will be a sum of all parts. By contrast, if you install solar panels in series, their output current won’t change, though their voltages will be a sum of all parts. A professional installer will be able to assess which one is right for you. This is a very technical step, and one which should only be carried out by someone with a detailed knowledge of how to wire an electrical circuit which uses AC and DC currents.
Discover how Otovo can help you save money with solar energy
Step 5 – The solar inverter
Once your panels are wired, a solar inverter will need to be connected to the system. This is the device which turns the solar energy that’s been absorbed throughout the day into the electricity which will power your home.
This is most often installed near to the main panel, and can be kept either outside or inside the building. As they tend to work more efficiently when kept in a cool place, it’s recommended to keep them inside (such as a garage, or any room which gets regular ventilation).
If you do decide to have yours installed on the outside of the building, try to have it facing away from a spot where it’ll get hit by the midday sun (when temperatures are at their hottest).
Step 6 – Bond inverter and battery
If you’re adding a solar battery to the project, the inverter can be connected to it at this point. There are many advantages to adding a solar battery to your array, such as using stored energy as a backup on darker days, as well as potentially lowering the solar battery storage system costs.
But how does it work to install solar panels with a battery? To begin with, you ought to know you need a hybrid inverter capable of managing the charging and discharging of the batteries, as these are the most expensive and delicate element of the entire system. Their storage capacity will vary according to the size of your system and your standard energy spending.
Depending on the voltage and capacity needed, there is more than one way to do it. The batteries can be connected in parallel, in series or in series and in parallel. In the case of parallel connections, the capacity of the batteries doubles, but the voltage remains the same. As for the batteries connected in series, the obtained results are the opposite: their capacity stays the same, but the voltage doubles. Finally, if a series and parallel connection is preferred, both the capacity and the voltage double.
Step 7 – Connect the inverter
The converter has been installed, but it’s at this stage that it gets connected to the consumer unit (the appliance which controls the distribution of solar energy throughout your home).
You might also want to consider adding a generation meter at this stage, as it will allow you to monitor the performance of each individual solar panel. This can help to give you better insight into what time of day is best to run home appliances like a washing machine, dryer, or oven.
Step 8 – Test the solar panels
At this point, the hard graft will be over. But you’ll still need to make sure the panels are working properly. Flick the power on and discover if the installation process has been a success. If it has, you’re all set up and ready to go.
Reach out today to find professional and affordable installers for your home
Can you install solar panels on your own?
Owing to the extremely technical nature of the solar panel installation process, it’s highly advised that you use trained professionals to add a solar network to your home. While you might be able to buy the basic resources for the build yourself ahead of time, you’ll need to turn to a qualified installer to carry out the job itself. That is the best and safest way to install solar panels.
How long does solar panel installation take?
While each project will be different, it generally takes around two days for a solar panel installation to be completed. Almost half of this time will be taken up by constructing the scaffolding needed to reach the roof. As such, if you’re installing a panel on the side of your home, the process could be significantly quicker.
Benefit from a quick and comprehensive installation with the help of one of our trusted installers
Solar panel maintenance advice
Once your solar panel system is up and operational, you’ll want to do everything you can to make sure it continues to function to the fullest. Thankfully, because there are practically no moving parts, solar panels do not require extensive maintenance to keep them in top shape.
That said, there are still steps you can take extend their lifespan as long as possible:
- Check them regularly for dirt. Anything which accumulates on the surface of a solar panel can cause it to perform progressively poorly. Dirt is one of the chief offenders, as it will block a panel from absorbing light to its fullest potential.
- Spray with warm water. You can use a regular garden hose to spray the panels, but make sure the water is warm, and that you’re doing it during the morning or evening. Using cold water on a hot panel can potentially cause it to become damaged.
- Scrub them with non-abrasive tools. Using a rough sponge or cloth will scratch the surface of the panel. This will reduce their performance, or even damage them to the extent that you’ll need to get them replaced.
- Check for nesting wildlife. Pigeons and other birds will often make solar panels their home, as they provide a good support structure for nests. If you notice this happening, it may be too late to remove the nest on your own (as birds will abandon their home if it’s been touched). Consider using wire meshing as a preventative measure, in order to avoid this from happening in the first place.
- Monitor them yourself. If you’ve included a generation metre in the installation process, you should be able to keep a watchful eye over the performance of your solar panels. Keeping on top of how they’re doing will allow you to preemptively replace any panels which might be on the verge of breaking.
- Always check the warranty. While it’s not always the case, some manufacturers will void a warranty if you carry out cleaning on your own. This is something you’ll want to check with your installer ahead of time.
Follow these practical tips to keep your solar array in the best shape possible.
If you’d like to have your solar array installed by a professional (as is recommended), make sure to reach out to a member of the Otovo team. We’ll be able to connect you with a tried and trusted installer, who’ll work on your home installation for an affordable price.